


Wandering through Tuesday Morning a few years ago, I stumbled across a couple of super cute mini albums for super cheap. I snapped them up and then took them on a vacation with me when I didn't have time to pack any layouts. I assembled the books and then they sat empty, in my mini album basket. That is, until this week!
**Tuesday Morning is a discount store that sells merchandise other stores have unloaded, at really great prices! It's like a Big Lots! Great place to look for scrapbooking supplies; however, you never know what you will find!


**Tuesday Morning is a discount store that sells merchandise other stores have unloaded, at really great prices! It's like a Big Lots! Great place to look for scrapbooking supplies; however, you never know what you will find!
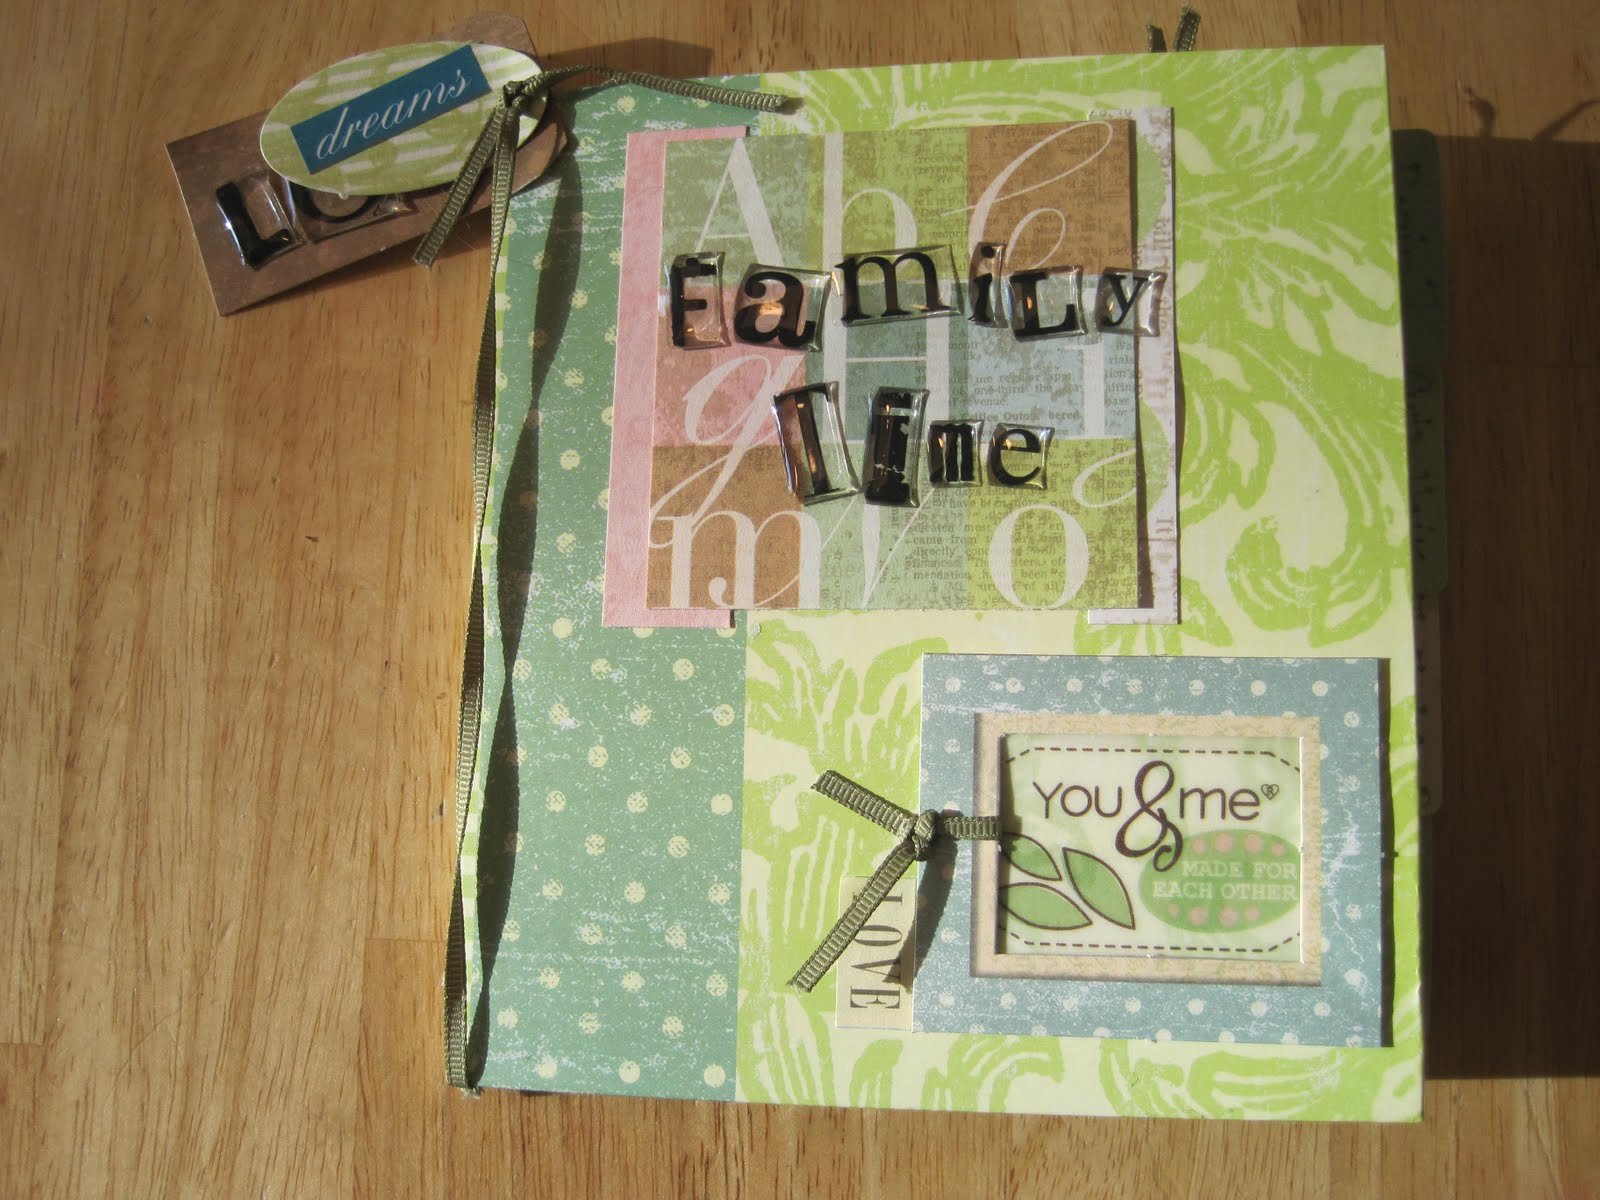
Since I created this album without photos so long ago, I have no idea who the manufacturer is! This is the cover. The cover came with the dots and leaves already on it and then I added the title block and mini frame. I also added the ribbon around the spine of the book and two tags: one says Dream and the other says Love.

Here is page one and two. All the pages had the background papers pre-printed. All I had to do was pretty them up a tad! I made tag pockets on page 1 and tied matching ribbon to the tops of each tag. I was able to journal there. I then added a little matted sticker below the picture of my daughter. On page 2 I matted the photo and added a small paper stripe. I also combined two tags into a little accent. One tag says US and the other has a heart on it.

Page 3 and 4.

Page 5 and 6

Page 7 and 8

Page 9 and 10
I love all the photos in here, but there wasn't enough for individual layouts, so I combined them into a great mini album about my daughter!


