CLICK HERE FOR FREE BLOGGER TEMPLATES, LINK BUTTONS AND MORE! »

Thursday, September 29, 2011

Thankful Thursday Design Team Halloween Blog Hop

Wahoo...Halloween is coming and I LOVE Halloween! I love the fresh crisp air, the changing leaves, the pumpkins...all of it!  Well Thankful Thursday's Design Team loves Halloween too and we all have some fabulous crafts to share with you!

If you came from XXXXXXXXXXXXXX then you're in the right spot.  It you just stumbled upon this blog hop, well then, Welcome!  Head back to XXXXXXXX to go back to the beginning and see all the great creations.

\
I fell in love with the Cricut cartridge Mini Monsters and used it to cut my title, "Pick of the Patch" and the pumpkins shown on the next page!

Aren't they cute?  (I was talking about the pumpkins, but the kids are too, right???)

Well, did you hear there is a great prize????  A Cricut Lite Cart called Celebrate with a Flourish!  
I love to scrapbook our pumpkin patch trips, but I worry they all start to look alike!  This year I went with a bright set of (Martha Stewart, I think!) fall leaves paper.  It really set the right note!  

Thursday, September 15, 2011

Thankful Thursday Design Team Pirate theme!!!!

Arggghh!  Hello there matey!  Did you know September is National Pirate month and that there is an actual "Talk Like a Pirate Day?"  To keep up with the pirate theme, this week's Thankful Thursday challenge is pirate theme!

Pirate theme....hmmm....my son feels he too old for "pirates."  What should I do?  I know, I'll use a pirate's best friend on a layout.  What (who?) is a pirate's best friend?  Treasure, of course!  And what's just like treasure hunting in modern times?  Geocaching!

Here is a simple layout I created all about my children geocaching with their grandparents.
Left page says "Treasure Hunt and features a treasure chest.  The background paper actually had grandparent phrases (like hugs and kisses, grandma's house) all over it.  I used a black marker to add details to the treasure chest.

On the right page I featured a compass!  I think it turned out cute!

Close up of title and treasure chest

Close up of compass

Thanks for looking and I love comments!
We have an awesome prize this month, it's a Post-it prize pack!! Don't forget to head over to Crazy About Cricut at http://crazyaboutcricut.blogspot.com  and enter your family's project!


Friday, August 26, 2011

Coupon Organizer--mini album #4

THIS IS EXTREMELY PHOTO HEAVY, SO PLEASE BE PATIENT FOR IT TO LOAD!  
THANK YOU!
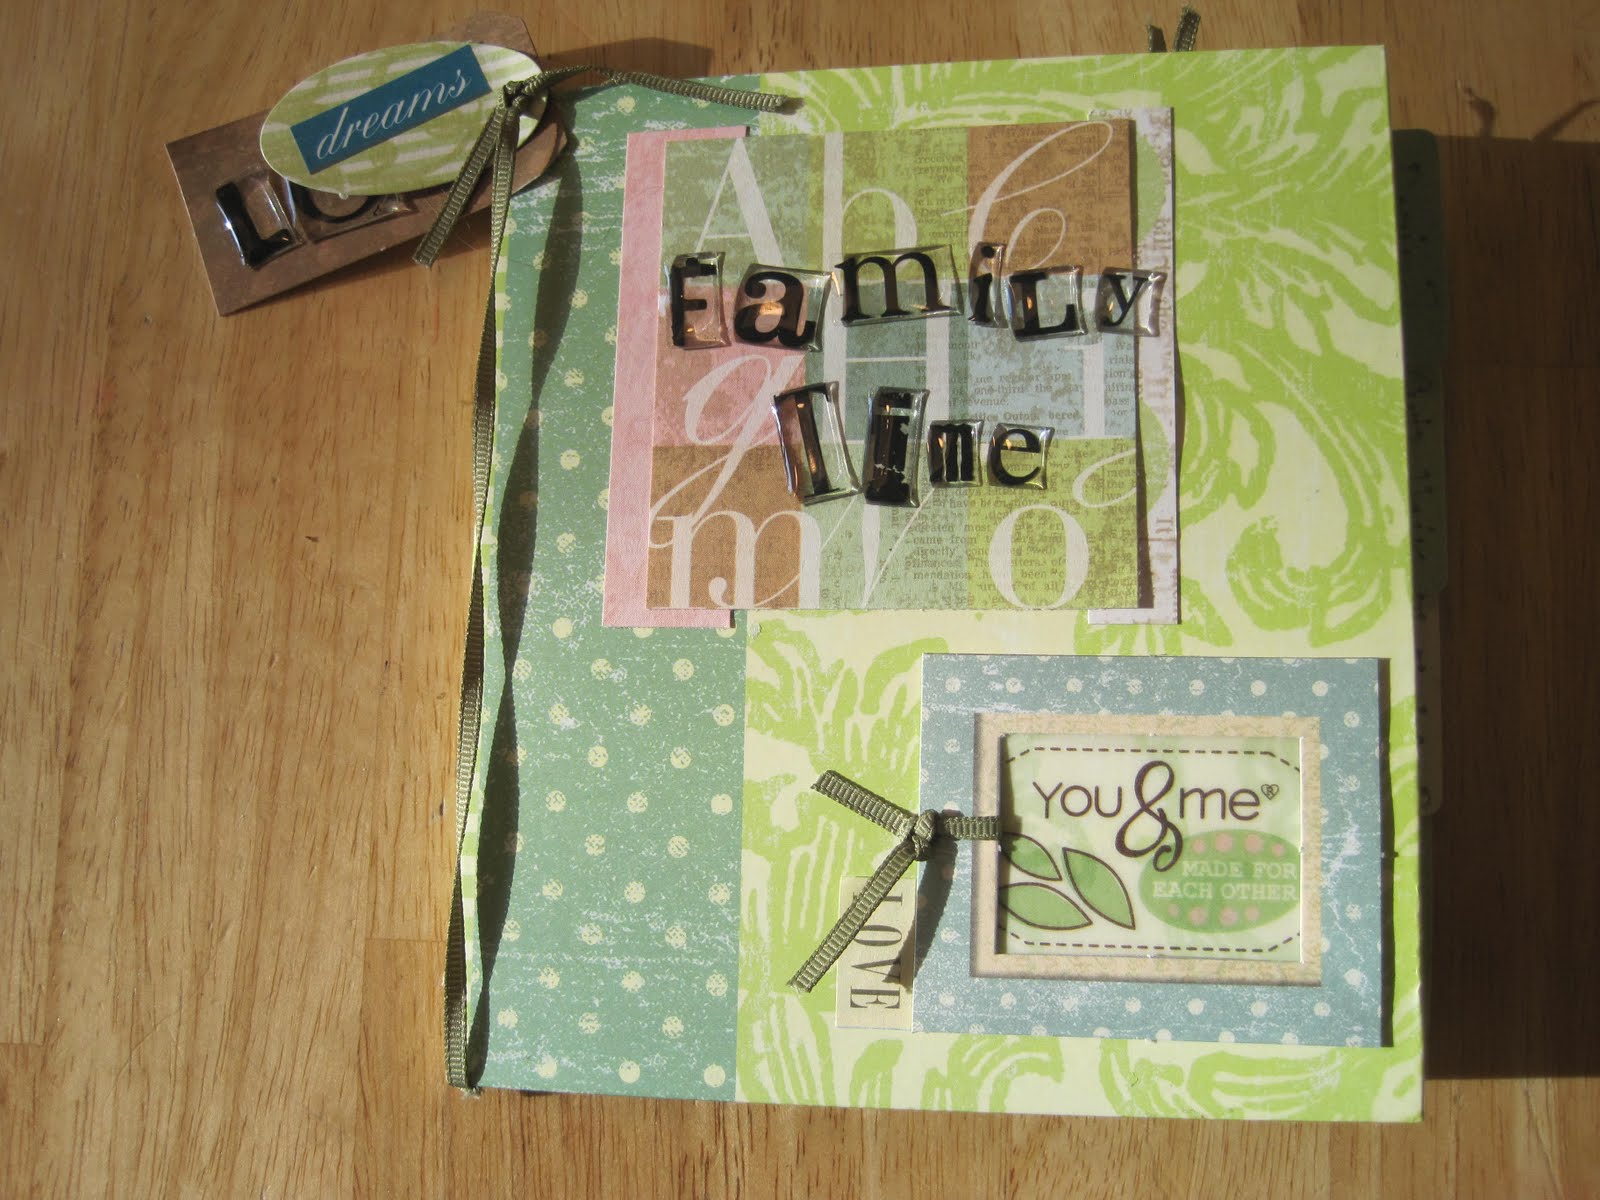
During CK's Summer Camp 2011, I noticed a post about creating a mini album from a coupon organizer and I really wanted to try it!  I stopped by Target and picked up this great blue one for $1.00 from their dollar bins.  (I used foam Thickers in white to write the title on the front!)

After reading, and rereading, and rereading the directions and then having my scrapping friend Christy do the same thing...we still couldn't figure it out, so we went AWOL and did it ourselves!  :)  First thing I did was to open the coupon organizer and see if yours seals at the bottom.  Mine did not.  I then took the very last envelope (for coupons) and cut each side within the fold on both the left and right side.  That allows your coupon organizer to now flip open like a book with all the envelopes on one side and one pocket on the right.  

I then took each pocket and turned it into a page by cutting the right hand side fold so that they were all separated from each other and now pages!  I left the left side (or top now) together to be like a book.

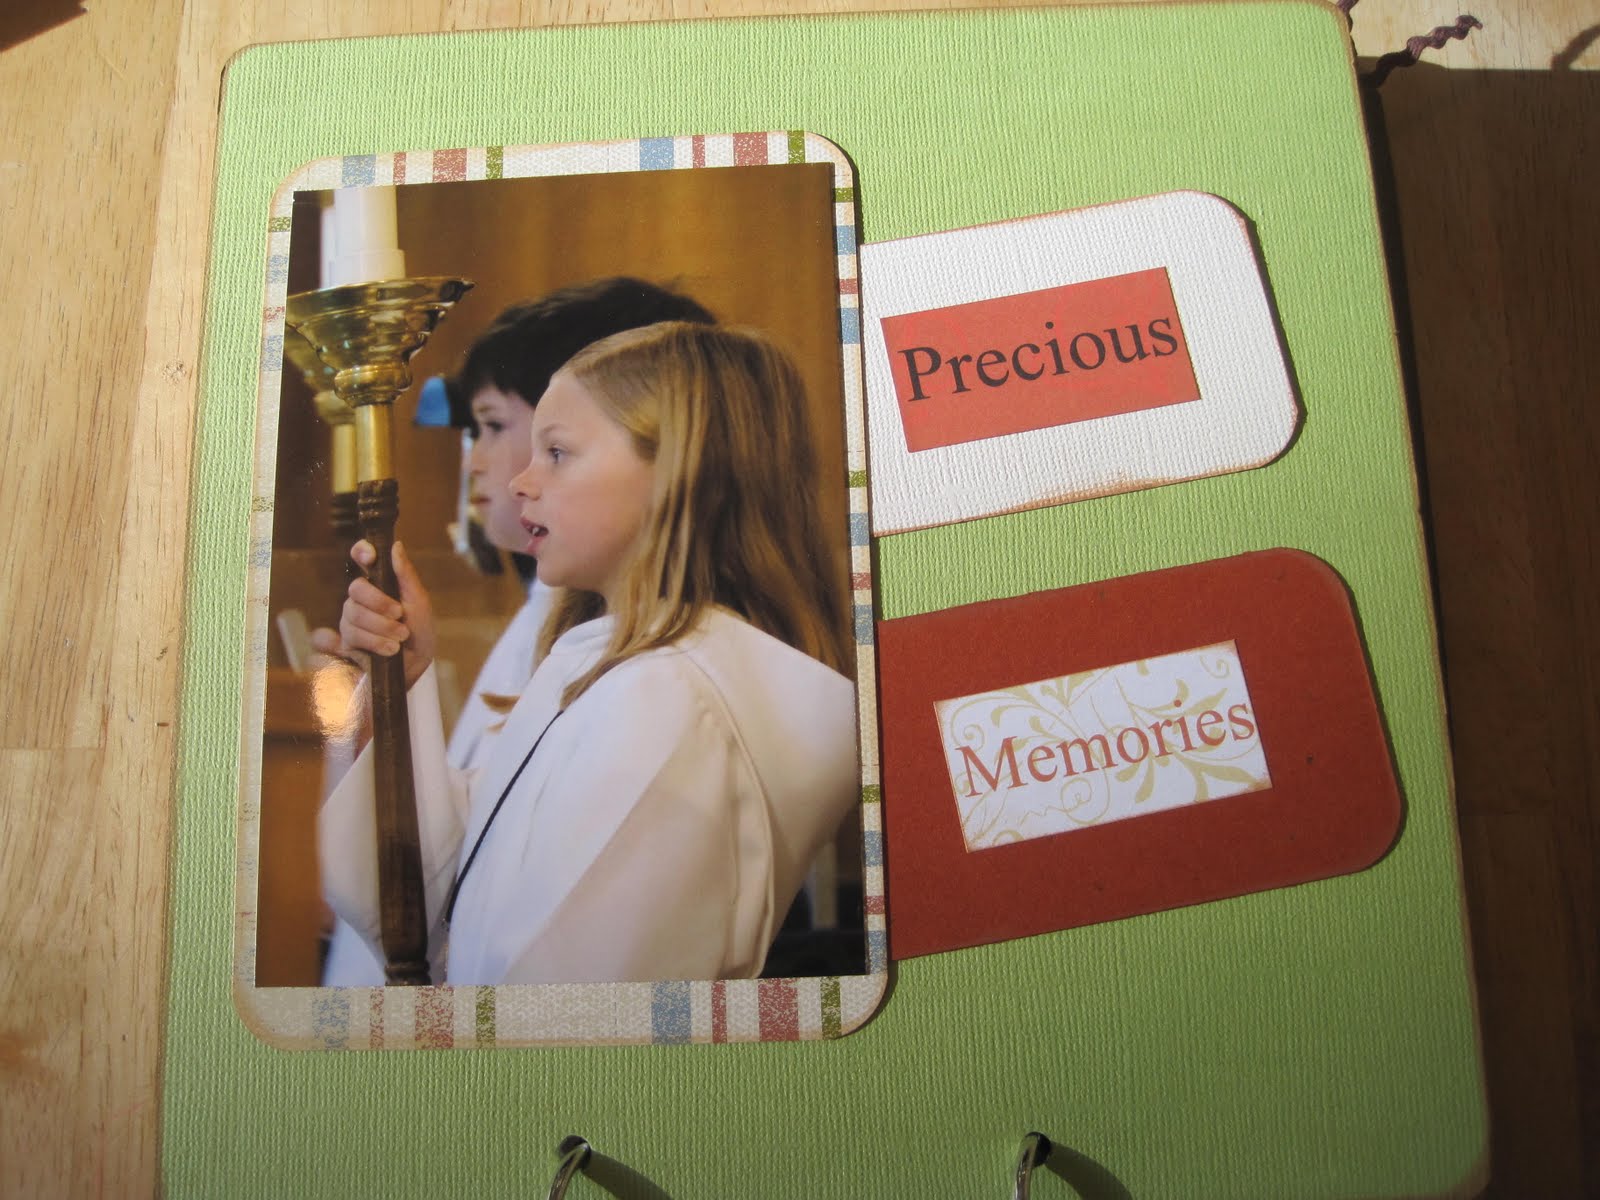
I then covered each page with a piece of patterned paper from KI Memories Enchanting pack.  I love it because they all coordinate, but don't look "matchy-matchy!"  Do you see the tabs on the left?  I just traced the whole page, tab included, and cut it out and adhered the patterned paper.  I used the tabs to put a number on that will coordinate with journaling in the back!  I also inked every page edge and all accents, photos, etc. with Amaretto ink.  This hid any imperfections in my cutting and trimming!  (Best hint ever is to ink the edges of a mini album to hide mistakes!)

Slip-n-Slide page.  Each page flips up revealing a 2 page spread longways!  (up and down!)  I found I can fit 4-5 photos on each double page.  More slip-n-slide.  Note that each photo is matted in the scraps from another background page!  The "Good Times" velum is from one of the other mini albums I created this week.

Fourth of July! The rub-on's (memories and the dots under the photo) are also left over from the other mini albums.

Vacation Bible School.  Smile tag is also a left over!

Learning to do cartwheels

Swimming with best friends!  I used the "Best Friends" rub on as a left over from another mini album.  I found the "Fun in Sun" vellum from a Summer pack of vellum sayings.

Fountain fun and Being siblings (wrestling) and then posing with friends

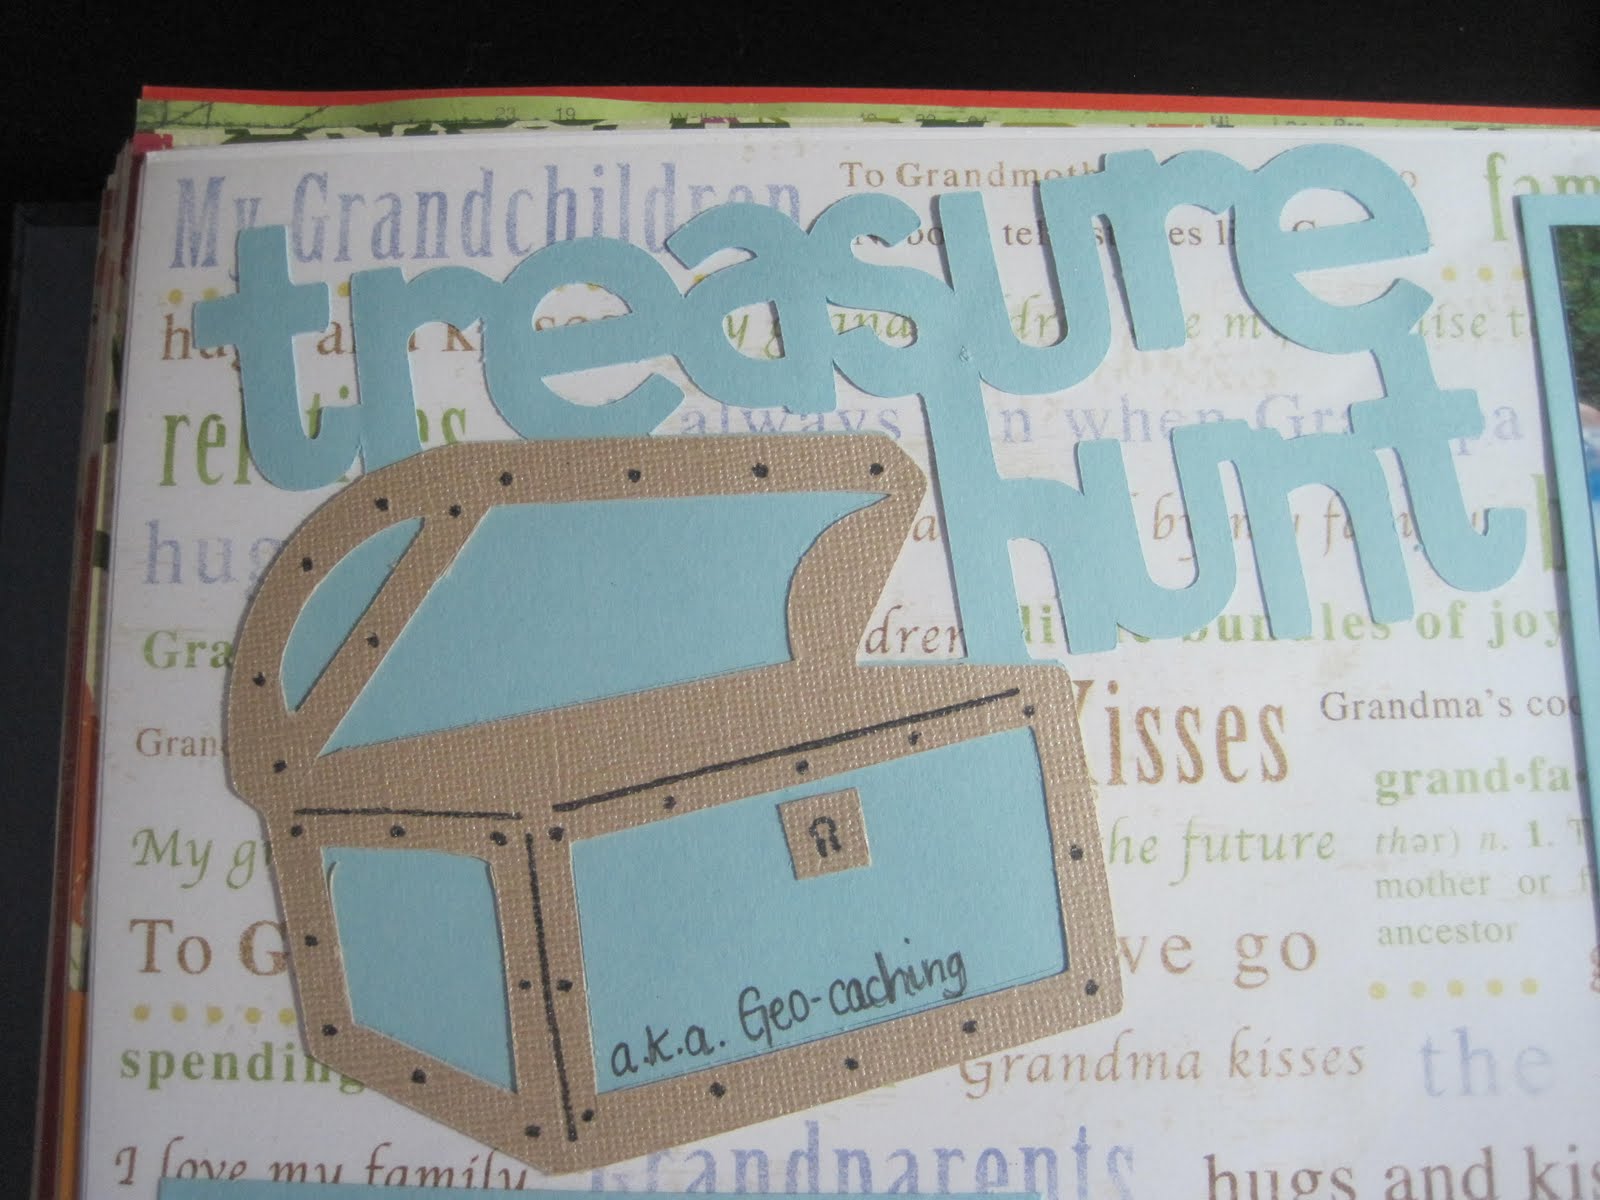
Letterboxing.  The tree and bird are fussy cut from some extra background paper.  I love how it looks!

Hanging out at the river.  Beach Bum is from the same vellum summer pack.

I love vellum phrase packs!  The "Hit the Books" is from a school vellum pack.  More reading!

Even more...

The last page is actually the back of the coupon organizer.  I adhered patterned paper to the back (just traced the coupon organizer open and then cut it out!)  I then used more Thickers in white to put numbers to match the numbers on the tabs of the pages.  I then journaled here so people could match the tab number and the journaling number and read!  I thought this was an easy way to journal without cluttering my pages.

Here's what it looks like open, before you rotate it like a book.  See the dot paper under the blue flap and above the photos?  That's inside the last envelope.  I just trimmed it to the right side and slid it in.  Now I have a pocket for memorabilia too!

Here's the pocket!  You can barely see it because it's clear, but see where the dots look shiny?  That's the last coupon organizer envelope.  I ran a line of ATG tage along the bottom of the envelope to seal the bottom--AFTER sliding the paper in.  Now I have a complete pocket!

Let me know if you have any questions about putting together this album!  Ask any questions in the comments and I will do my best to answer them!

Thursday, August 25, 2011

Mini Album #3 One of My Favorites!

I put this mini album together last year at Scamp, and once again, I loved it but wanted just perfect photos for it.  I finally pulled a compilation of photos of this summer to put inside.  See my blog post here for directions on assembling this album:  http://mccalleyhouse.blogspot.com/2010/09/mini-albums.html  Scroll down, it's the 2nd mini album in the post!
(Yes, this album was made completely from a grab bag! )

My son up a tree during Vacation Bible School.  Photo taken by the church photographer.  Isn't it great???

My son reading in Bend.  He loves to read and this is a very common scene!

My daughter (top) being silly at dinner in Bend.  My daughter and I floating down the Duschutes River on tubes.  It was a blast, although a little chilly!

 Family photo on the way out on a hike in Bend.

Top:  Watching fireworks on the 4th of July.  Bottom:  My husband and son floating in the Deschutes River.

My son getting ready to go kayaking and fishing with grandpa!

 My daughter acolyting.

More family photos and my daughter.

My son played Charles Wallace from A Wrinkle in Time during our Vacation Bible School (far left) and my daughter trying to rock climb!

Wednesday, August 24, 2011

Mini Album #2 Memories of Landon being born

Like yesterday's post, this mini album was picked up at Tuesday Morning and has sat around forever! BUT, I am on a mini-album finishing kick, so I filled this one with photos of my sister-in-law's baby shower and of my nephew when he was born!  I don't know the manufacturer, but I love that O rings hold this together!  It helps it lay flat even if there are some bulky accents.

Page 1 and 2
The pages came a blank white so I added some fun pastel shades of patterned paper to some of them.  I love the little polka dot tag!  I added a heart stone for some bling and dimension!  (Page 1 features my children and me holding Landon for the first time.  Page 2 shows my Sister-in-Law at her shower.)

I tore the velum and then adhered it underneath the patterned paper so my adhesive wouldn't show!  (See the word sunshine on page 3?)  I added another tag to page 4.  (Page 3 is journaling about when Landon was born and page 4 is a photo of me holding him!)

Do you see a pattern with the tags???  Love them!  (Page 5 is another shot of my Sister-in-law's shower.  That's my daughter and my mom next to her!  Page 6 is my daughter holding Landon!)

Pages 7-8  
(Page 7 is back to the shower and page 8 is my son holding Landon!)

Pages 9-10.  I had this great photo of my sister-in-law holding up a Duck onesie, but it wouldn't fit on any page, so I used a two page spread and carefully sliced the picture between her and the onesie so I could add it to my album!  

Tuesday, August 23, 2011

Family Time Mini Album

 Wandering through Tuesday Morning a few years ago, I stumbled across a couple of super cute mini albums for super cheap.  I snapped them up and then took them on a vacation with me when I didn't have time to pack any layouts.  I assembled the books and then they sat empty, in my mini album basket.  That is, until this week!
     **Tuesday Morning is a discount store that sells merchandise other stores have unloaded, at really great prices!  It's like a Big Lots!  Great place to look for scrapbooking supplies; however, you never know what you will find!

Since I created this album without photos so long ago, I have no idea who the manufacturer is!  This is the cover. The cover came with the dots and leaves already on it and then I added the title block and mini frame.  I also added the ribbon around the spine of the book and two tags:  one says Dream and the other says Love.
Here is page one and two.   All the pages had the background papers pre-printed.  All I had to do was pretty them up a tad!  I made tag pockets on page 1 and tied matching ribbon to the tops of each tag.  I was able to journal there.  I then added a little matted sticker below the picture of my daughter.  On page 2 I matted the photo and added a small paper stripe.  I also combined two tags into a little accent. One tag says US and the other has a heart on it.

Page 3 and 4.

Page 5 and 6

Page 7 and 8

Page 9 and 10

I love all the photos in here, but there wasn't enough for individual layouts, so I combined them into a great mini album about my daughter!