CLICK HERE FOR FREE BLOGGER TEMPLATES, LINK BUTTONS AND MORE! »

Sunday, October 17, 2010

I'm in love with my Cricut!

I know, who isn't, right?  But since getting the Cricut Expression, I am loving its versatility!  I actually might be getting more scrapbooking done, but I am also saving money! I make my own cards and now I'm branching out into Halloween decorations!  Below are a few things I've been working on over the last few weeks.

I am a first grade teacher and I teach the intensive reading group at school.  The intensive reading group is comprised of children the furthest behind in reading; because of this, behavior can sometimes become a problem.  They loved it when I called them "Smart Cookies" and I kept referring to this imaginary cookie jar.  Well, one day while teaching I thought of the idea of making a "Smart Cookies" Cookie Jar and then making paper cookies to fill it with.  When the cookies are all in the jar, then the reading group will earn a "cookie party!" 
I love how this turned out!  I didn't have any of the cartridges with a jar, so I used George to make a rounded corner rectangle and then I welded one parenthesis from Gypsy Wanderings (I think).  They come in a set, so I hid the other one and then rotated it to make it look like a lid!  I cut two cookie jars, one in patterned paper with the words Smart Cookies cut out and then one in maroon that is just the outline.  I used George again to make the stripes across the jar and the knob at the top for added decoration.  I pieced it altogether and then decided it would be too flimsy as is, so then I adhered it to a piece of cardboard from an empty cereal box.  Now it doesn't flop and curl and it's a lot sturdier!

Well, you can't have a "Smart Cookie" Cookie Jar without cookies, right?  I used George again and make 1.75 inch (or so) circles.  I used the triangle feature and overlayed the triangles and then rotated them in different directions so it looked like chocolate chips.  I cut these out in cream paper.  I then cut the same circle size out of brown paper and layered it behind.  I though layering a circle was easier than gluing 4 chocolate chips per cookie!  I then cut as many as I could on a 12x12 paper and I ended up with 49 cookies!   I then inked the edges with dark brown to make them look more realistic!  Once again, George was the best investment!


Bosses Day October 16th, 2010
AAAKKK!  Bosses Day falls on a Saturday this year and I totally missed it on Friday.  My Principal is fabulous and he loves a strong cup of coffee.  He even hosts "A Cup of Joe with Joe" parent meetings, so coffee is his thing!  I used Gypsy Wanderings and cut out large coffee mugs and then Sweet Treats font for the phrase "Thanks a Latte Mr. Galati!".  I inked all the edges with chestnut brown for some definition from the white poster board.  Normally I would have decorated his door with this, but he gets to work about the same time I do, so I put it all on 2 pieces of poster board so I can literally slap them up and be done in case he's a little early!

"Too Cute To Spook"
Made by my 7 year old daughter!
We found glittery foam at the Dollar Tree and she just had to think of something to use it for.  She was clicking through scrapbooking/card making blogs that I had left open on my computer and she found one she liked that featured a Penguin, fangs and the phrase "Too Cute to Spook."  She found the cat on Paperdolls Everyday.  We cut it at 4 inches and used the #5 on the blade and max pressure.  We cut it twice and it was still not a clean cut, but we were able to see where to punch the cat out!  She added a hand cut witches hat and a pink nose.  The googly eyes and hand drawn mouth and whiskers truly make it too cute!  She mounted it all on yellow paper and then adhered it to a piece of patterned paper with a Halloween design!


The easiest cards in the world!  (Cricut not even needed, but shhh!  Don't tell anyone!)
I cut double sided Halloween paper to 9 inches long by 4 inches wide.  I folded it in half, and then folded down a 1 inch flap.  I wrapped a piece of ribbon around the flap and adhered it and the flap down.  I used a very thin piece of adhesive to glue the edges of the folded "envelope" on each side.  I then cut a 3.5x4 inch square of patterned paper to slip inside the "envelope" and voila! a quick and adorable Halloween card!

This is what it looks like once the card is removed!

"Dare To Enter"
My son (9 years old) complained that all of our Halloween decorations were not scary enough, so I was digging through the Cricut stuff and found I don't have any Halloween carts.  (I quickly ordered one and am still waiting, but that's another story!)  I used George, once again, and welded two ovals together, overlapping them slightly at the bottom by rotating them.  I cut these out of purple paper and fun foam.  (Much easier to cut than the glittery foam!)  I then welded two circles together for the "whites" of the eyes and cut them in yellow.  Then I took a black marker and colored in the pupils and then used stickles over the top to make them sparkly.  I love how they look!  I cut the Dare to Enter out as well and hung the whole thing on our front door.  Not knock down scary, but I love it! 

Sunday, October 3, 2010

Halloween Blog Hop Fun!

I had a blast doing some Halloween decorations today on the Cricut!  (Also had to order a new cartridge, of course!)  But, just found this great Halloween blog hop!  Check it out!
Mark Your Calendars!

Friday, September 3, 2010

Cherry On Top Award!

Thank you so much Melissa for thinking of my blog!  You need to check Melissa's blog out at http://melissamade2.blogspot.com/

Now,  I need to name three things I love about myself:
1.  I persevere (I am pretty stubborn!)
2.  I am compassionate.
3.  I am loyal.

A picture I love:

Sacked out on the couch after 5 days of camping!

 And now for five blogs I love:
1. My Pink Stamper:  http://www.mypinkstamper.com/  Love her ideas with the Cricut!
2.  Cricut Me That:  http://cricutmethat.blogspot.com/
3.  Kricut Krazy:  http://www.kricutkrazy.com/
5.  Scrapbook Blog:  http://www.scrapbookblog.org/


Enjoy!

Mini Albums!

One of the reasons I am so behind in scrapbooking is I love mini-albums!  I create several a year and they are some of my favorite work ever!  It is so satisfying to finish a whole album in a day or two! 

This purse acrylic album I made at a class at the Portland Creating Keepsakes Convention.  (CK) It was my first exposure to working with acrylic and I learned lots of great things like how to adhere to it (clear glue dots), what kind of paper to use (double sided so the mat is for both sides!) that if you use flowers they look great from both sides! (No stems means they are never upside down!)  We also learned to stamp on acrylic and how to use an acrylic dye.  (Not a fan of the dye!)  In the end, I had this adorable purse album that's sat around for a couple of years, empty. 

Then I saw the pictures of my daughter's first horse back ride and I knew I had the perfect combination!  My daughter still talks about the horse she rode, Sailor, as if it was yesterday!  (Two years later!)  I created this album for her to have in her room as an accent, but also to remind her of that great ride!

Front Cover:  Isn't she cute?

One of the pages inside! Another page inside.  I used punched hearts and circles to journal on because when seen from the other side, the shape still works!

There are 10 pages in all, but all very similar! 


Next, I bought a grab bag for $5.00 at the CK convention and inside it was 10 pages of paper (5 patterned, fall colors and 5 solid fall colors), buttons, brown ric rac, white foam letters and a 10 page 8x8 chipboard square album.  I decided to use only what was included in the grab bag and a set of quotation stickers.  (This was not a pre-completed project or did it have directions or anything!)  I decided to make a brag book for my desk at work, but of course since I was still at Scramp, I didn't have the right photos.  I decided to make all the mats 4x6 so I just need to trim the photos a little and they'll all fit!  Here it is:

I inked all the edges of everything with brown.

The leaves on the bottom page are part of the patterned paper.  I had extra, so I cut them out, inked the edges and added popdots to give some dimension and added them to the top page for continuity!  The one of the buttons across the top of the page actually hide a hole in the paper! :)


Since I don't have the photos yet, I cut out the photo anchors and kept the sticker backing to the part that would touch the photo.  I then used a brad to adhere the rest of it down.  After I put photos in, I'll just remove the sticker backing and stick it to the photo!


Scramp Layouts Continued!

After I finished the Yellowstone album I was on a roll!  Here are the rest of the layouts I finished while I was at Scramp!

"Gone Fishin'"  While we were in Yellowstone, Matt went sturgeon fishing one day and caught this huge sturgeon.  Since I only had this one cell phone photo, I couldn't enlarge it more without it getting blurry, so I matted it with large mats to give it more weight.  I then cut the title from Life's a Beach on the Cricut.  Finally, I flocked the fish in the title with gray flock to make it look more like the fish Matt caught!


"Toutle"  That Christmas my parents gave my brother and I title to the piece of land we have camped on our entire lives!  (In fact, that's where Scramp takes place!)  I used the Cricut to cut out the trees, but then I noticed I had this great row of trees left on the paper (the reverse of what had been cut!).  I trimmed across the trunk portion of the trees and placed them on the page as a pocket.  Then I added the original trees I had cut out with popdot's for a little dimension!  I was excited that I'd used a scrap and I love the way it turned out.  I then had this Sandylion (?) tent and fire that I was able to nestle into the layers of trees.

"Snow Love"  This was my first layout using the gypsy! (A handheld device, like a DS, that allows you to combine Cricut images for more flexibility.)  I love it!  I took the o's out of the words and added snowflakes in!

Scamp Layouts of Yellowstone

As many of you know, I am now only about two years behind in scrapbooking!  I don't know if I'll ever be current, but it's sure fun to be within just a couple of years!  In June of 2008, the kids and I drove to Yellowstone to meet my parents for a 10 day vacation.  My husband couldn't get the time off of work, so he stayed home! :(  These are the layouts I created about that vacation!  Let me know what you think of the layouts or if you have any questions!

Title page to album. 2008 is written with stickers.  "Yellowstone" and the 2 borders at the bottom were cut from a Yellowstone page I found at a tiny gift shop within Yellowstone.  I found a brown ribbon with green dots to cover the seam where I layered the borders on the bottom.


Bison X-ing:  The only notable thing about this page is that the two bison at the bottom are cut by the Cricut (My World) using paper backed fabric. I love the fuzzy look!


These pages are all about the geysers, steam vents and mud pots that we saw.  I had tons of pictures and wasn't sure how to show case them.  I decided to use the cricut to cut out a border for each page that looked like it was "bubbling" or spurting up like a geyser.  I used that along the bottom of each page to connect all of these layouts together.

"Wild Animals"  I really like these next two layouts!  This one features a few of the different wild animals we saw while in Yellowstone.  I cut out a jumping deer and a bear from the Cricut, along with the title.  This time I tried using a patterned paper to cut the deer out with and I loved it!  It really makes the deer stand out and look nice.  (I also included a darker shadow!)  The bear is cut from the fabric paper again and I love him!


"Antelope, bear, elk, eaglets, and deer everywhere!"  I was struggling on how to tie all of these random photos together and finally I used the cricut to cut out my very long title and interspersed it among my photos. I really like it!


"Snow Day"  While going over a pass in Yellowstone, we encountered some snow.  Of course, the kids had to stop and get their pictures taken in the summer snow!  I cut "Snow Day" from the Cricut!


"Here moose, moose, moose!"  We looked everywhere for a moose in Yellowstone and we never saw one!  I cut the title out with the Cricut and then added binoculars, a spotting scope and the scenery to the bottom to tell the story.  There is hand written journaling between the top row and bottom row of photos that tells the story.


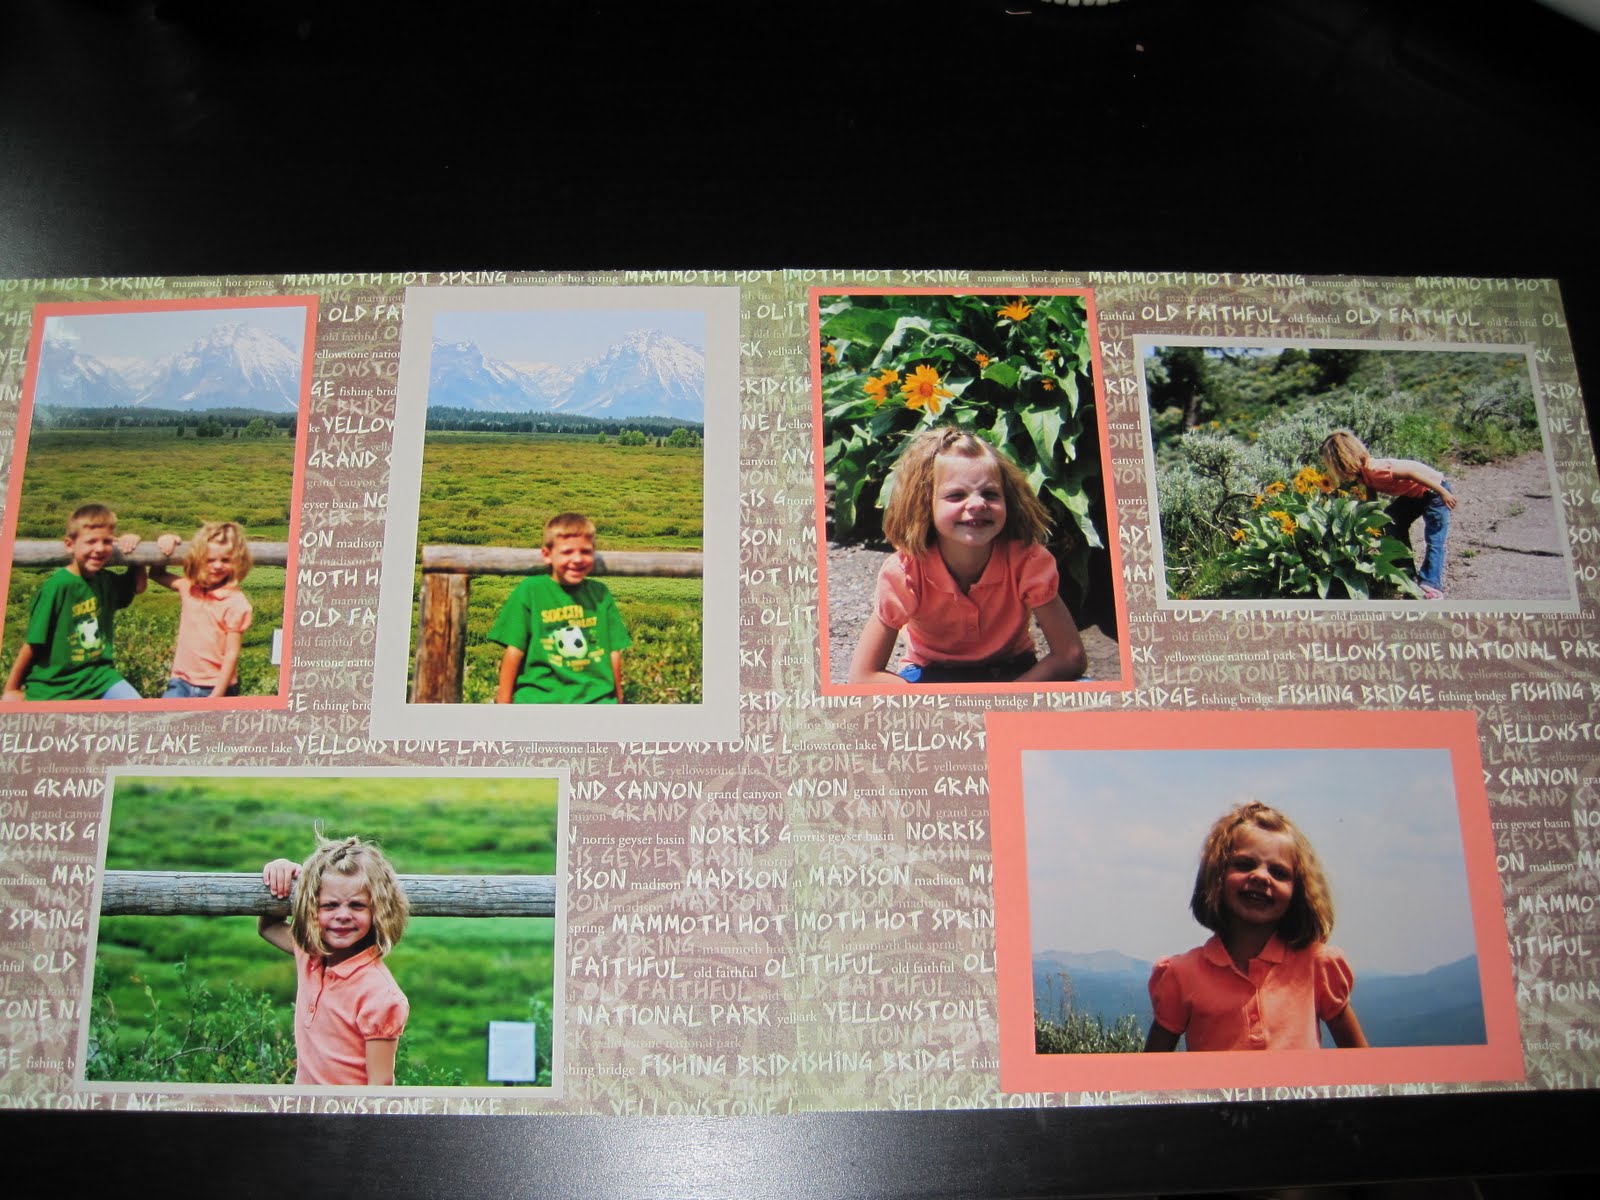
The background paper here is hard to see, but it features words that represent Yellowstone like "Yellowstone, Old Faithful, etc."
"Dinner Time" Wolves eating salmon.


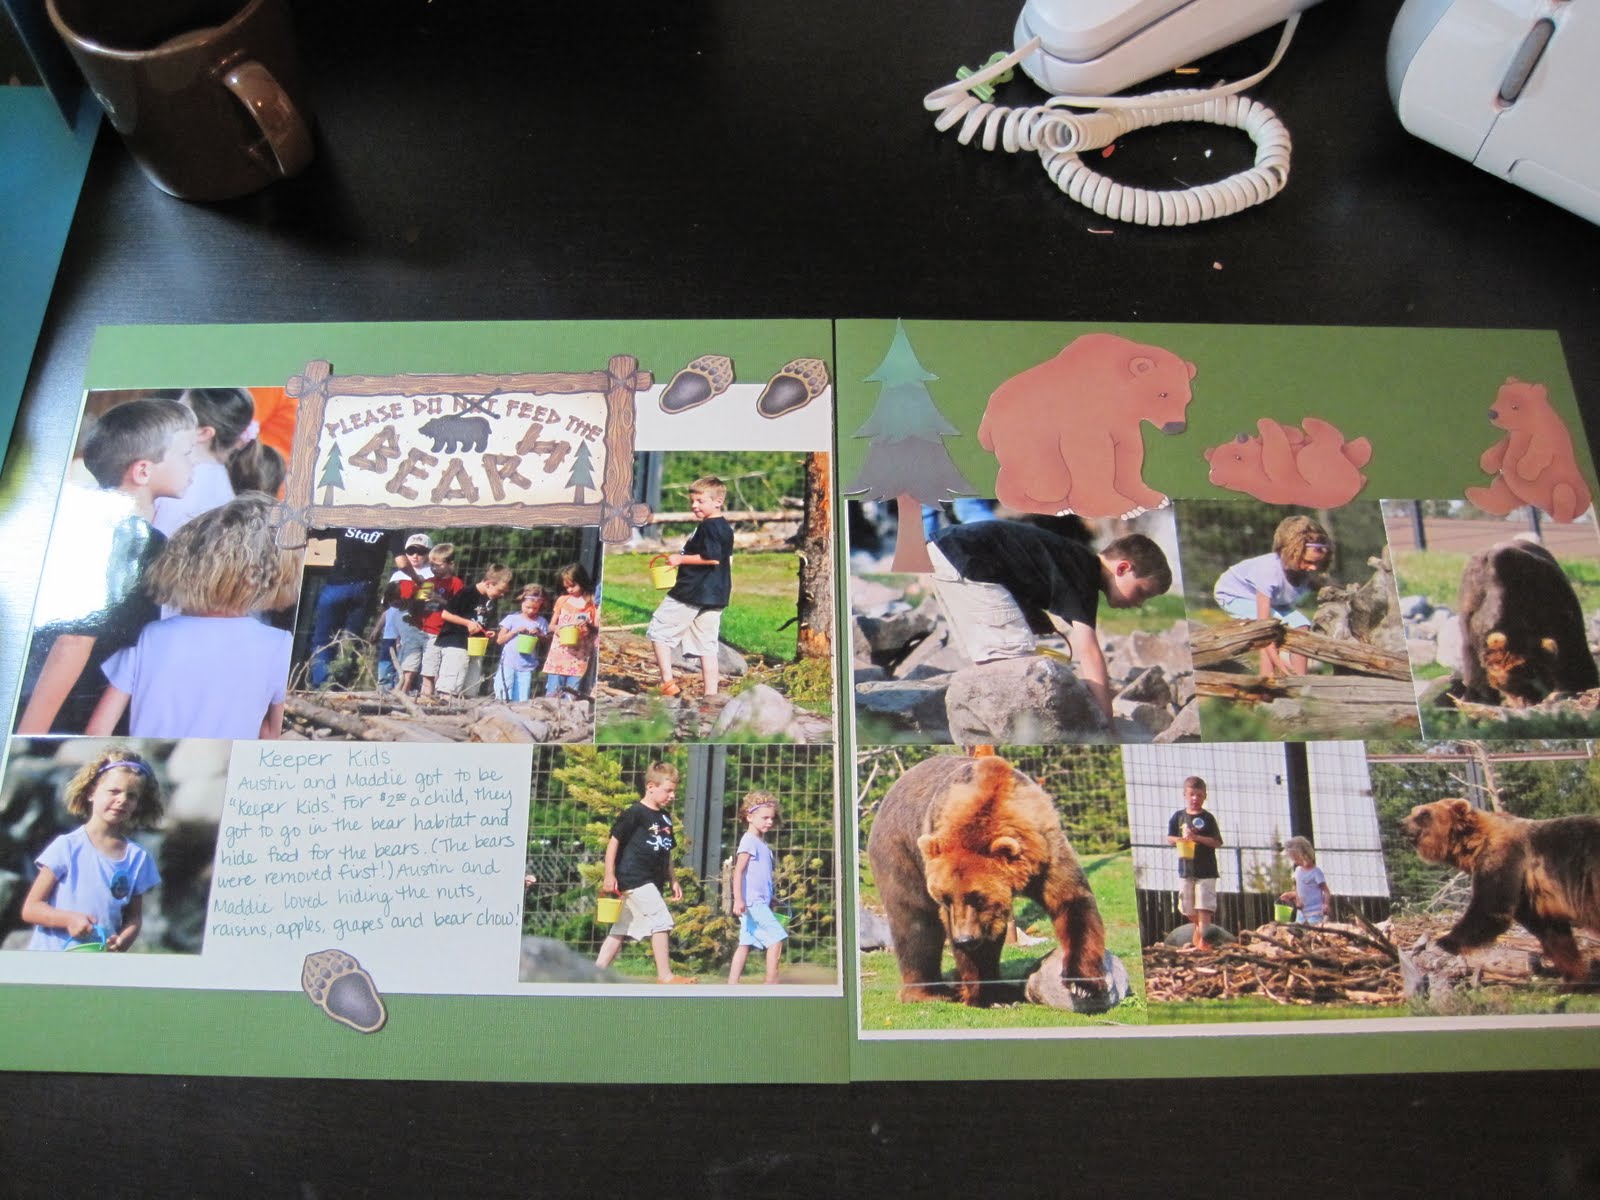
"Yellowstone is Bear County"  The title came from the same scrapbook page that that the original Yellowstone title came from.  We went to a Grizzly Center where we could get fairly close to the bears.  I matted the photos in gray to match the geysers on the background paper. (The paper has alternating rows of geysers, animals and trees.)  The round bear pictures are actually buttons I purchased for the kids and then snagged when we got home! ;)


"Please Don't Feed the Bears"  The kids got to go into the bear enclosure (with the bears removed) and hide treats everywhere.  They loved it!  The title and the bear cutouts all came from a bear paper I bought in Yellowstone.  Notice how many photos I am getting on these layouts! 


"Gone Fishing"  Austin is fishing in Yellowstone.  I cut out the Gone Fishin' with the Cricut from Life's a Beach, along with the little fisherman from Paperdolls.  I included the fishing license for more information, like the date and where we were!


"Birds of a Feather"  Maddie was feeding the birds while Austin was fishing.  She actually got this scrub jay to eat out of her hand!  The birds are cut from Home Accents and Life's a Beach.  The title is cut from Life's a Beach font.


This was a really hard layout for me to do because I love these photos.  These are taken at the Church of Transfiguration in the Grand Teton's.  Finally I matted the pictures on the right with a patterned paper and the photo on the left with a large block for an accent.  I journaled along the large block. I then just happened to have a coordinating brown and turquoise ribbon that I ran across the left page and then made a cross on the right.


"Old Faithful"  I love using photos as titles.  I try to take pictures of signs when we're out on vacation just so I can use them in my layouts!  (If you look back at the geyser page, I did it there too!)  After matting the two vertical pictures on a large blue "filmstrip" I ran a piece of blue and white fiber behind the photos and then used word stickers below the fiber.  I thought adding the word stickers gave the accent more heft.

Scamp Time

What is Scamp?  Scamp is scrapbooking and camping combined!  Every year a couple of Moms get together and bring all the kids camping.  Luckily the kids are getting older and they run off an play and the Moms scrapbook!  This year we were gone 5 days and really only scrapbooked 2.5 days.  I finished 28 2 page layouts, 5 single page and 2 mini albums!  We love it!  We were only interrupted to make meals and snacks and to race the kids to the river after they found a ground wasp nest. (29 stings total on 5 people!)  My daughter "won" with 11 stings. 

We set up a dining fly to keep off any stray rain showers and to slow down the wind gusts.  We then lay down a tarp to catch all our scraps.  I bring a 6 ft. table from Costco and we sit in folding chairs.  We are ultra organized and bring pre-made page kits for all we want to accomplish.  (Basically, the photos, papers we will use, accent items and then whatever I cut from the Cricut for it.)  I found that Costco sells TOMBO adhesive refills really cheap, so I stock up on adhesive and off we go!


Notice the huge pile of scraps on the ground!  We have a "ceremonial" campfire to burn all the paper scraps at the end.  This year they filled an entire brown shopping bag!

Other important scamp terms coined by my husband as he watched us fight the wind to hold down tiny pieces of layouts:
  • scramp:  a person who scrapbooks while they camp
  • Scruggle:  a person who cannot understand why anyone would EVER try, or want to, scrapbook while camping! 
He pretends he is a Scruggle, but really he supports me in all my scrapping!  Love you!